March 2014
Lots of sundry stuff prior to glassing the cabin and cockpit
area.
Window shape and location sorted out and formed (the coated
plywood rings are the reinforcing pieces for inside the windows). Deck plate hatches
trial fitted. Main hatchway formed. I decided on a hinged hatch top which would
open up access to the cabin plus the usual drop in washboards for the vertical
parts. I formed the hatch top with the
same camber as the cabin roof , just for looks but the finished result is
barely noticeable (see later photos).
Cockpit seats closed
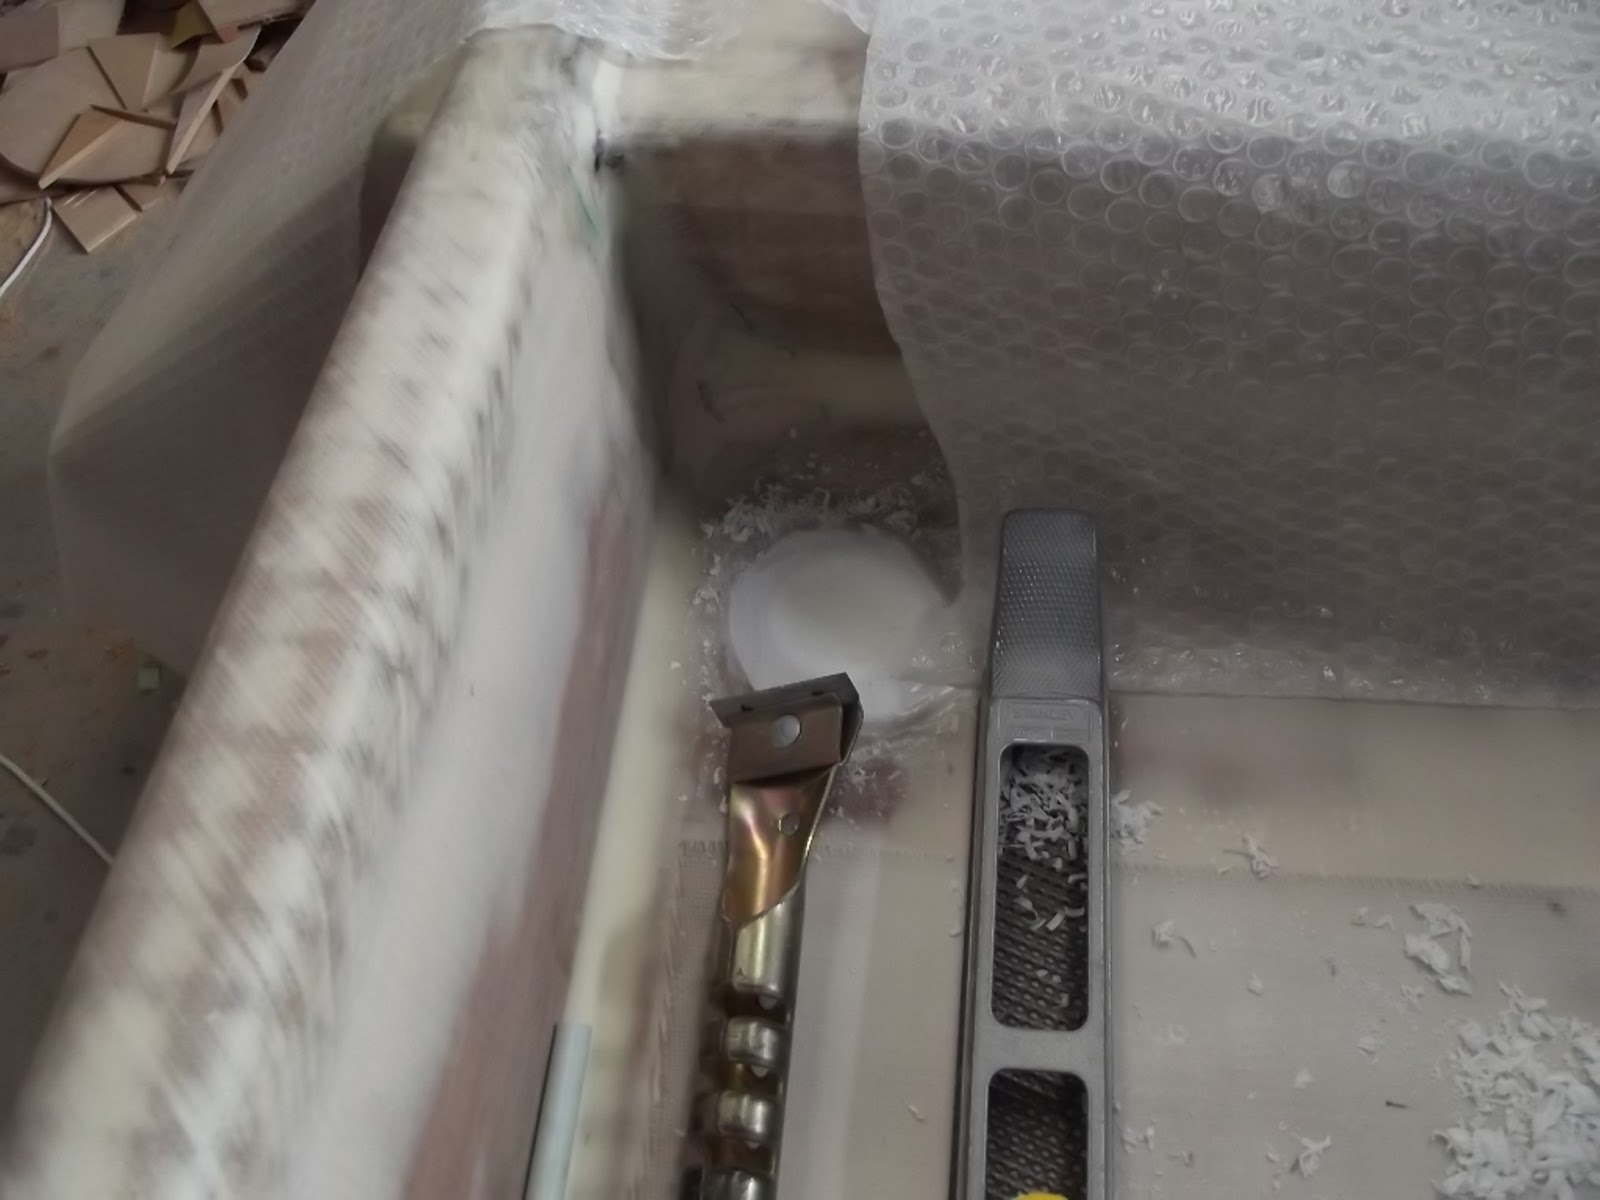
in. Drain holes in cockpit floor added. One in each corner of the cockpit floor about 100 mm in from corner, to allow working space. My drain holes are 40 mm diameter. First I made an oversize hole with 55 mm hole saw on my drill, filled it with epoxy filler, faired it off , and then re drilled it with the smaller (40 mm) hole saw. This gave a clean epoxy edge , unlikely to get damaged later. Possibly later I may add one way drain plugs, or some sort of deflectors underneath to stop water being forced up.
Photo of the interior: tons of storage


No comments:
Post a Comment